
|
You are here : Sub Contracting > Sub Contracting Maintenance > GRN Entry > Work Order Base Work Order Base
|
A grid is displayed as follows -
While 'Adding' a new GRN, the grid will be automatically populated with details of the selected Indents.
In case of 'Edit', and 'View' , this grid will display details as per the selected GRN Number.
The grid displays information about Indent, Parent Item and Work Order. Following are the fields in which you can enter relevant data.
PO No:
Specifies the Labor Rate Contract details against which material is received.
While 'Adding' a new GRN, click on the field to access a list of all LRCs created against the selected Vendor for the combination of same Parent Item and Work Order is displayed. Select your desired PO Number from the list by scrolling down to it and pressing <ENTER>.
The system will accept/display only those Labor Rate Contracts that fulfill the following conditions -
- Some quantity is pending to be received against the Labor Rate Contract.
- The Labor Rate Contract that has been authorized.
- Print Out should have been taken out for the Labor Rate Contract.
Details of the selected PO Number is displayed in the format of Year/Group/Site/No.
In case of 'Edit', and 'View' , PO Details are displayed automatically as per the selected GRN Number.
GRN Qty (IUOM):
In case of 'Edit', and 'View' , GRN Qty is displayed automatically as per the selected GRN Number. While 'Adding' a new GRN, this field is displayed as empty.
Click on the field. It is compulsory to specify the Purchase Order / LRC Number before entering the received quantity. Otherwise IMMS will display an appropriate message.
A grid will be displayed as follows -
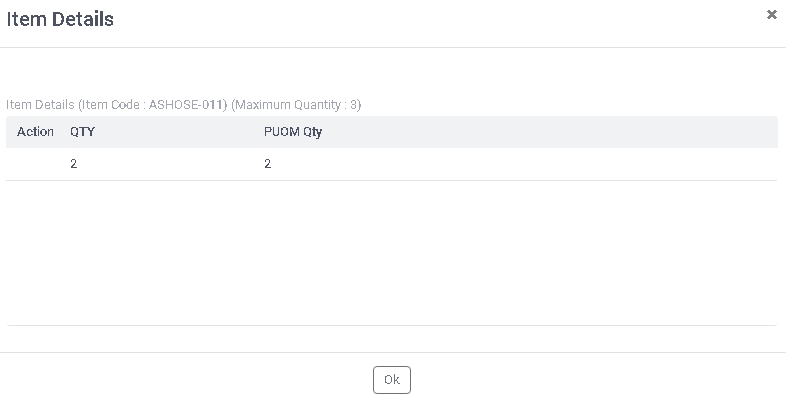
IUOMQTY:
Automatically converts the quantity of Item received from Purchase Unit of Measurement into Internal Unit of Measurement by multiplying the 'PUOMQTY" with 'Int Conv Fact.' where 'Int Conv Fact.' is specified through Labour Rate Contract Entry
option of Purchase Module.
PUOMQTY:
Click on the field. Now enter the quantity of Item being received. It can not be more than 'Pending Ind Qty (IUOM)'. Press <TAB>.
But in case of an Open Labour Rate Contract, the 'Pending PO Qty (PUOM') will be zero and hence the system will not perform any validation.
Apart from this, in case there is a variation between the PUOM and IUOM, the quantity entered should also be within the tolerance range that is applicable to the Purchase Unit of Quantity
Click on 'Ok' button to continue. As a result the quantity mentioned in 'IUOMQTY' field here will be carried back and displayed in 'GRN Qty (IUOM)' field of the previous grid. Similarly the quantity in 'PUOMQTY' field here will be carried back and displayed in 'GRN Qty (PUOM)' field of the previous grid. Click on 'Cancel' button to discard and go back to the previous grid.
Once the received quantity is specified, another grid will open that allows you to specify the actual consumption quantity of all the Child Items issued against the corresponding one or more Gate Passes. The grid is as follows -

Please note that the system will check the following conditions for Gate Passes -
- Only 'Regular' type of Gate Passes will be considered.
- Only those Gate Passes will be displayed that have been created against the selected Vendor and Work Order combination.
- Some quantity of Child Items issued against the Gate Pass is still pending to be consumed.
This grid displays all the information related to the Child Item along with the corresponding Work Order.
Please note the following fields in this grid -
REMAIN QTY:
This field will automatically display the remaining quantity of the Child Item that can be used further. Remaining quantity is calculated as Issue Quantity of Child Item through Gate Pass - total of (Use Qty)
USE QTY:
In case of 'Edit', and 'View' , Use Qty is displayed automatically as per the selected GRN Number.
While 'Adding', 'Remain Qty' quantity is automatically displayed in this field by default. Enter the quantity of Child Item that was actually consumed by the Vendor. By default this quantity is automatically calculated and displayed as follows -
The system first finds out the Quantity of Child Item that is needed to make the number of Parent Item specified in the Work Order. Now as per the quantity of Parent Item actually being received through the GRN, the system automatically calculates the quantity of Child Item that should ideally be consumed. You can change this quantity but it should not be more than -
- Quantity mentioned in 'REMAIN QTY' field.
- The quantity automatically calculated by the system as per the received quantity of Parent Item.
Click on 'Ok' button to save the Used Quantity and go back to parent grid. Click on 'Cancel' button to discard and go back to parent grid.
GRN Qty (PUOM):
Automatically displays the quantity of Item received in Purchase Unit of Measurement. You can not change it.
GRN Challan Qty:
(Type : Numeric, Length : 9.4)
Denotes the quantity mentioned in challan.
While 'Adding', click on the field. Now enter the quantity of Item as per challan. Press <TAB>.
In case of 'Edit', and 'View' , GRN Challan Qty is displayed automatically as per the selected GRN Number. You can change it in 'Edit' mode.
Pending Ind Qty (IUOM):
This field displays the quantity of the Parent Item in Internal Unit of Measurement that is pending to be received as per the Indent. The pending quantity is calculated as -
required quantity of Parent Item in the Indent
Pending PO Qty (PUOM):
This field displays the PO quantity (in Purchase Unit of Measurement) mentioned in the selected Labor Rate Contract.
Pending PO Qty (IUOM):
This field displays the PO quantity (in Internal Unit of Measurement) mentioned in the selected Labor Rate Contract.
Shelf Life Expire Date:
Denotes the Expiry Date of the Item.
Enter the Expiry Date of the Item.
Please note that Expiry Date can be entered only for those Items that belong to the Class or Sub-Class for which 'Use Shelf Life'
| Go Back |
